Installation
Install Pinia Colada alongside Pinia:
bash
# or pnpm, or yarn, etc
npm i @pinia/colada
Then, install the plugin in your application:
ts
import { createApp } from 'vue'
import App from './App.vue'
import { createPinia } from 'pinia'
import { PiniaColada } from '@pinia/colada'

const app = createApp(App)
const pinia = createPinia()
app.use(pinia)
app.use(PiniaColada, {
  // Optionally provide global options here for queries
  queryOptions: {
    gcTime: 300_000, // 5 minutes, the default
  },
})
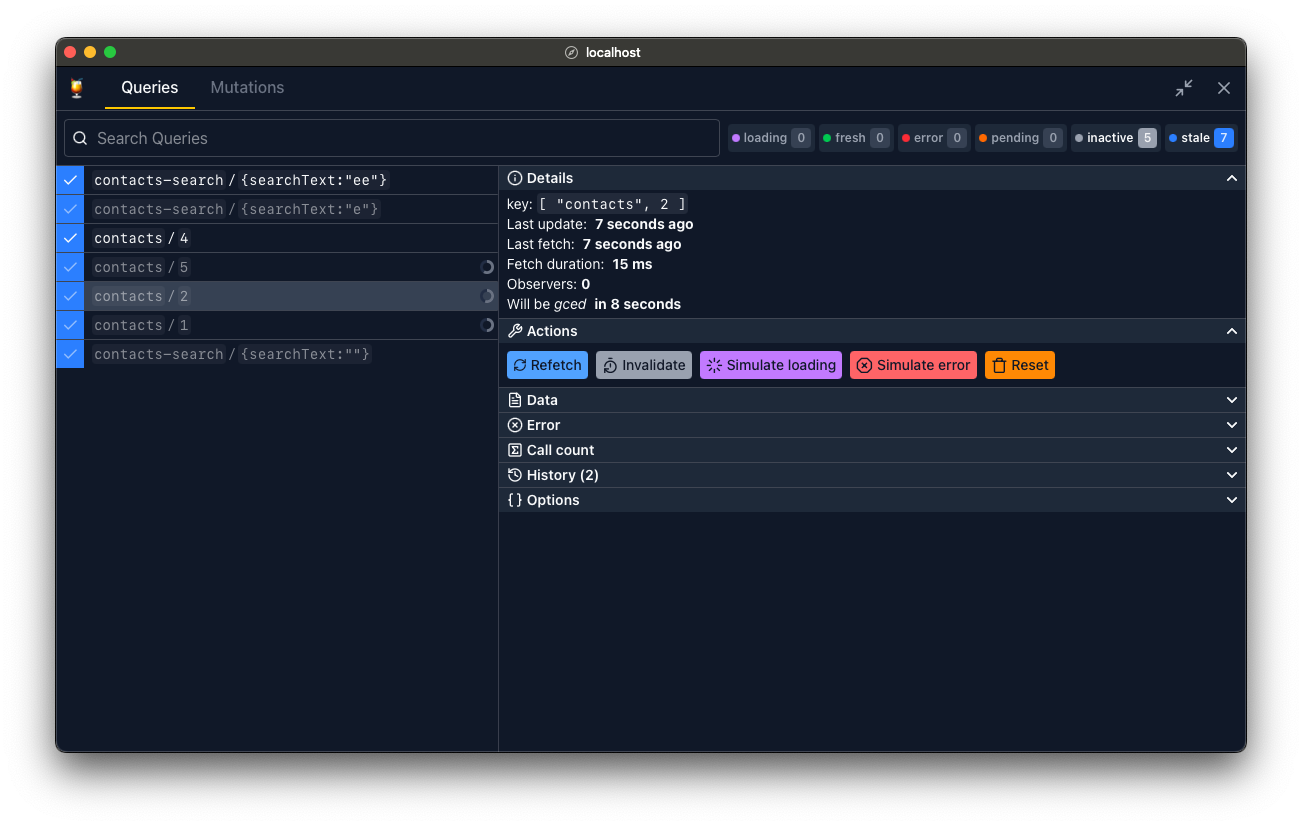
Pinia Colada Devtools

Install the devtools for a better development experience with Pinia Colada:
bash
# or pnpm, or yarn, etc
npm i -D @pinia/colada-devtools
Then simply put the component in your App.vue (root component):
vue
<script setup lang="ts">
import { PiniaColadaDevtools } from '@pinia/colada-devtools'

// ...
</script>

<template>
  <main>
    <!-- Your app content here -->
  </main>

  <PiniaColadaDevtools  />
</template>
Keeping devtools in production
By default, the devtools are stripped off in production builds. Use the <PiniaColadaProdDevtools> component instead if you want to keep them in production:
template
<PiniaColadaProdDevtools />Plugins
Pinia Colada comes with a few plugins that you can use to enhance Pinia Colada's functionality:
ts
import { PiniaColada, PiniaColadaQueryHooksPlugin } from '@pinia/colada'

app.use(PiniaColada, {
  plugins: [
    PiniaColadaQueryHooksPlugin({
      // ...
    }),
  ],
})
Other plugins must be installed separately (e.g. Retries, Loading delay, Auto refetch) and can also be created directly in your project for any custom behavior like offline, cache normalization, etc.